
Addepar Integration
Configuring Bipsync for two-way sync with Addepar
Bipsync is able to synchronise data with Addepar two-ways. This allows Bipsync field data to be pushed into Addepar, and for view data in Addepar to be imported into Bipsync.
The integration offers a flexible way of synchronising data, allowing Addepar data to be surfaced on dashboards and grids within Bipsync.
Addepar data is synchronised on a schedule. Currently this happens once an hour.
Configuring an Addepar View
In order to sync data to Bipsync a View must be created and saved in Addepar. This view should contain all of the attributes that you would like to sync into Bipsync or from Bipsync to Addepar.
Currently only views with a single level of grouping are supported.
Configuring Authentication
Bipsync authenticates securely with Addepar using OAuth. This can be configured via the Bipsync Setup App:
- Open the Setup App and navigate to Integrations -> Addepar.
- Click Configuration.
- Ensure that Enabled Addepar integration is checked
- Enter values for the following fields:
- Authorization URI - for production setups the default is usually correct.
- Base API URI - for production setups the default is usually correct.
- OAuth Token URI - for production setups the default is usually correct.
- Save.
- Scroll down and click the Authorize button.
- You will be redirected to Addepar and asked to authorize the Bipsync integration.
Configuring Field Mapping
Field mapping is the process of matching your Bipsync schema (Pipelines, Content Types and Fields) to their equivalents in Addepar (Views and attributes).
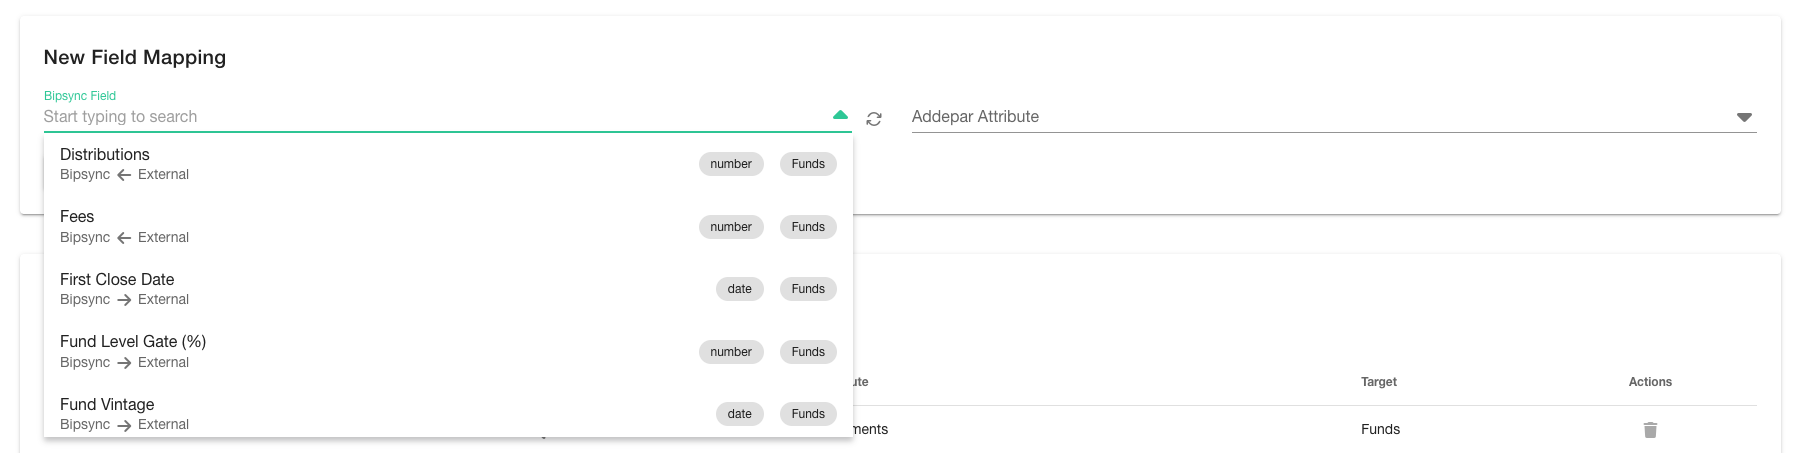
The Addepar integration allows the following field types to be synchronised:
- Date
- Number
- Text
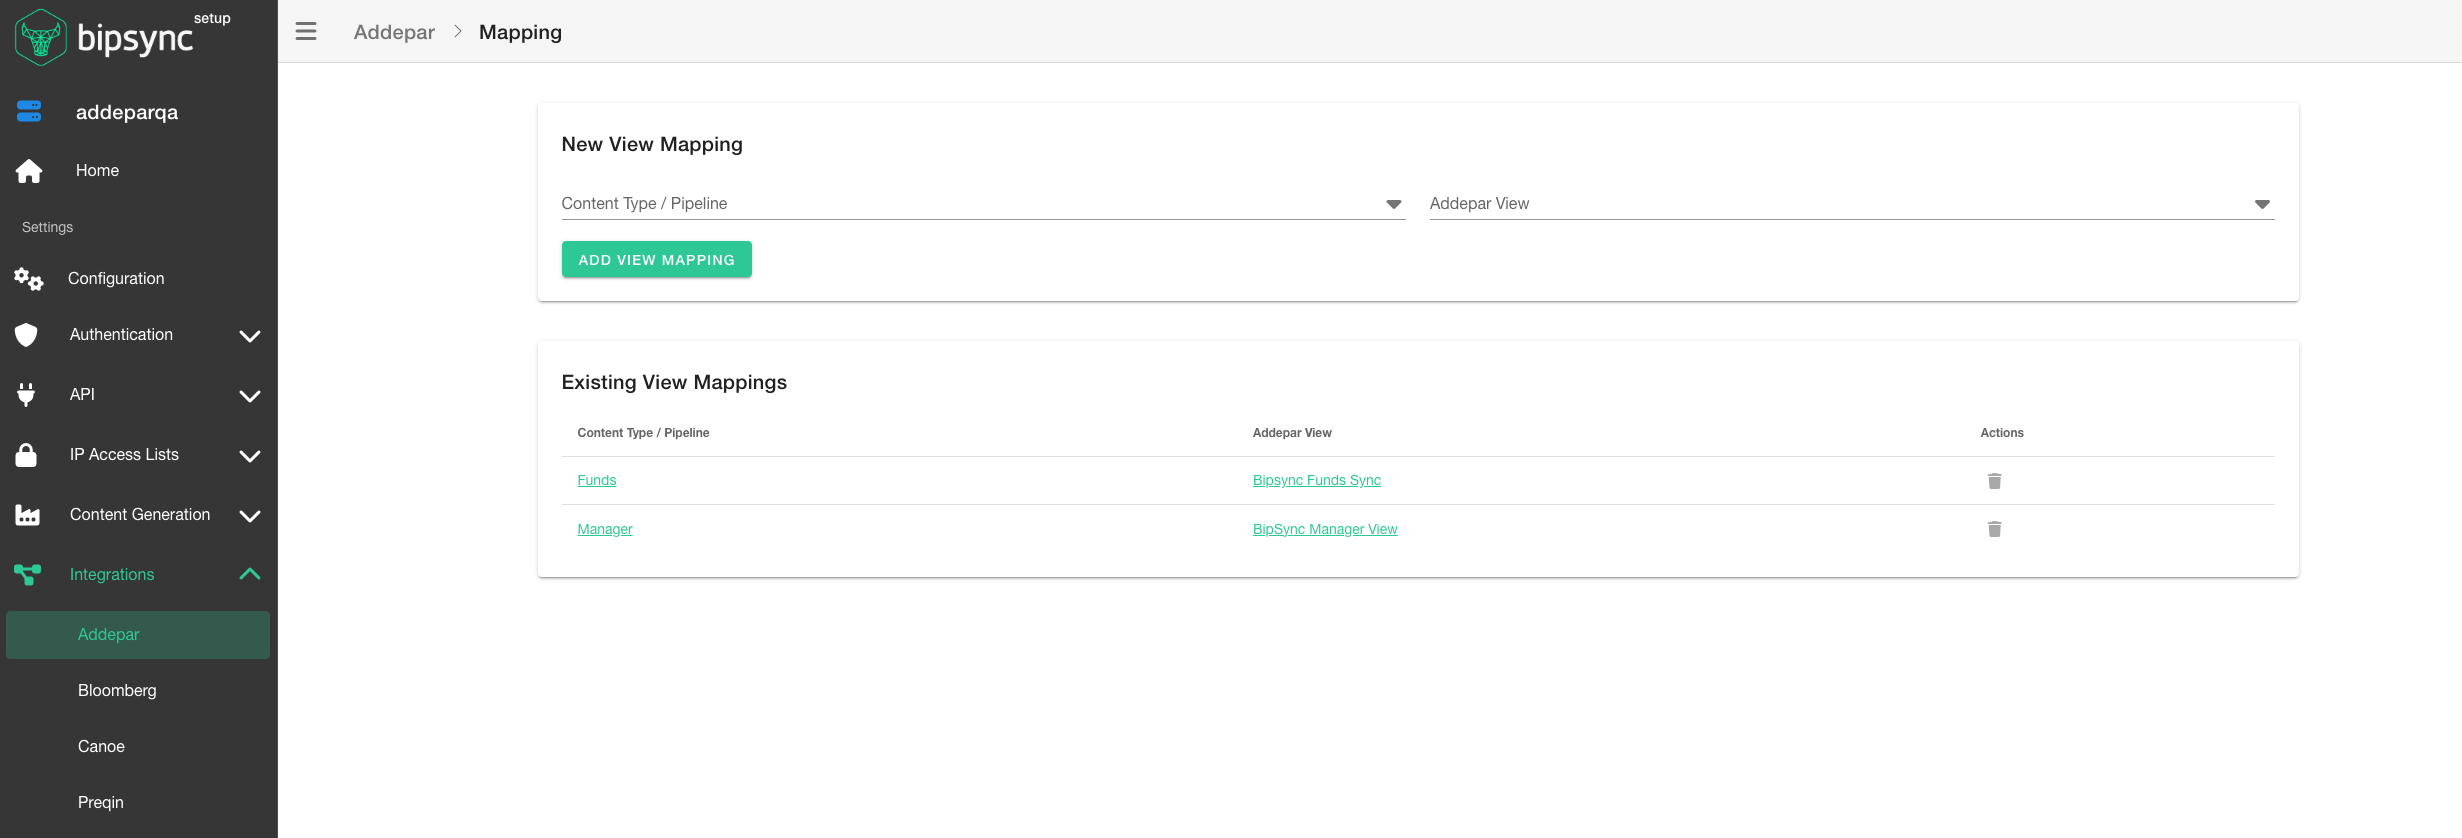
Field mapping can be managed via the Bipsync Setup App:
-
Open the Setup App and navigate to Integrations -> Addepar.
-
Click Mapping.
-
You will be presented with options for mapping Pipelines and Content Types in Bipsync to their associated Views in Addepar.
-
To complete field mapping, click on the title of the Content Type / Pipelines that you'd like to configure.
-
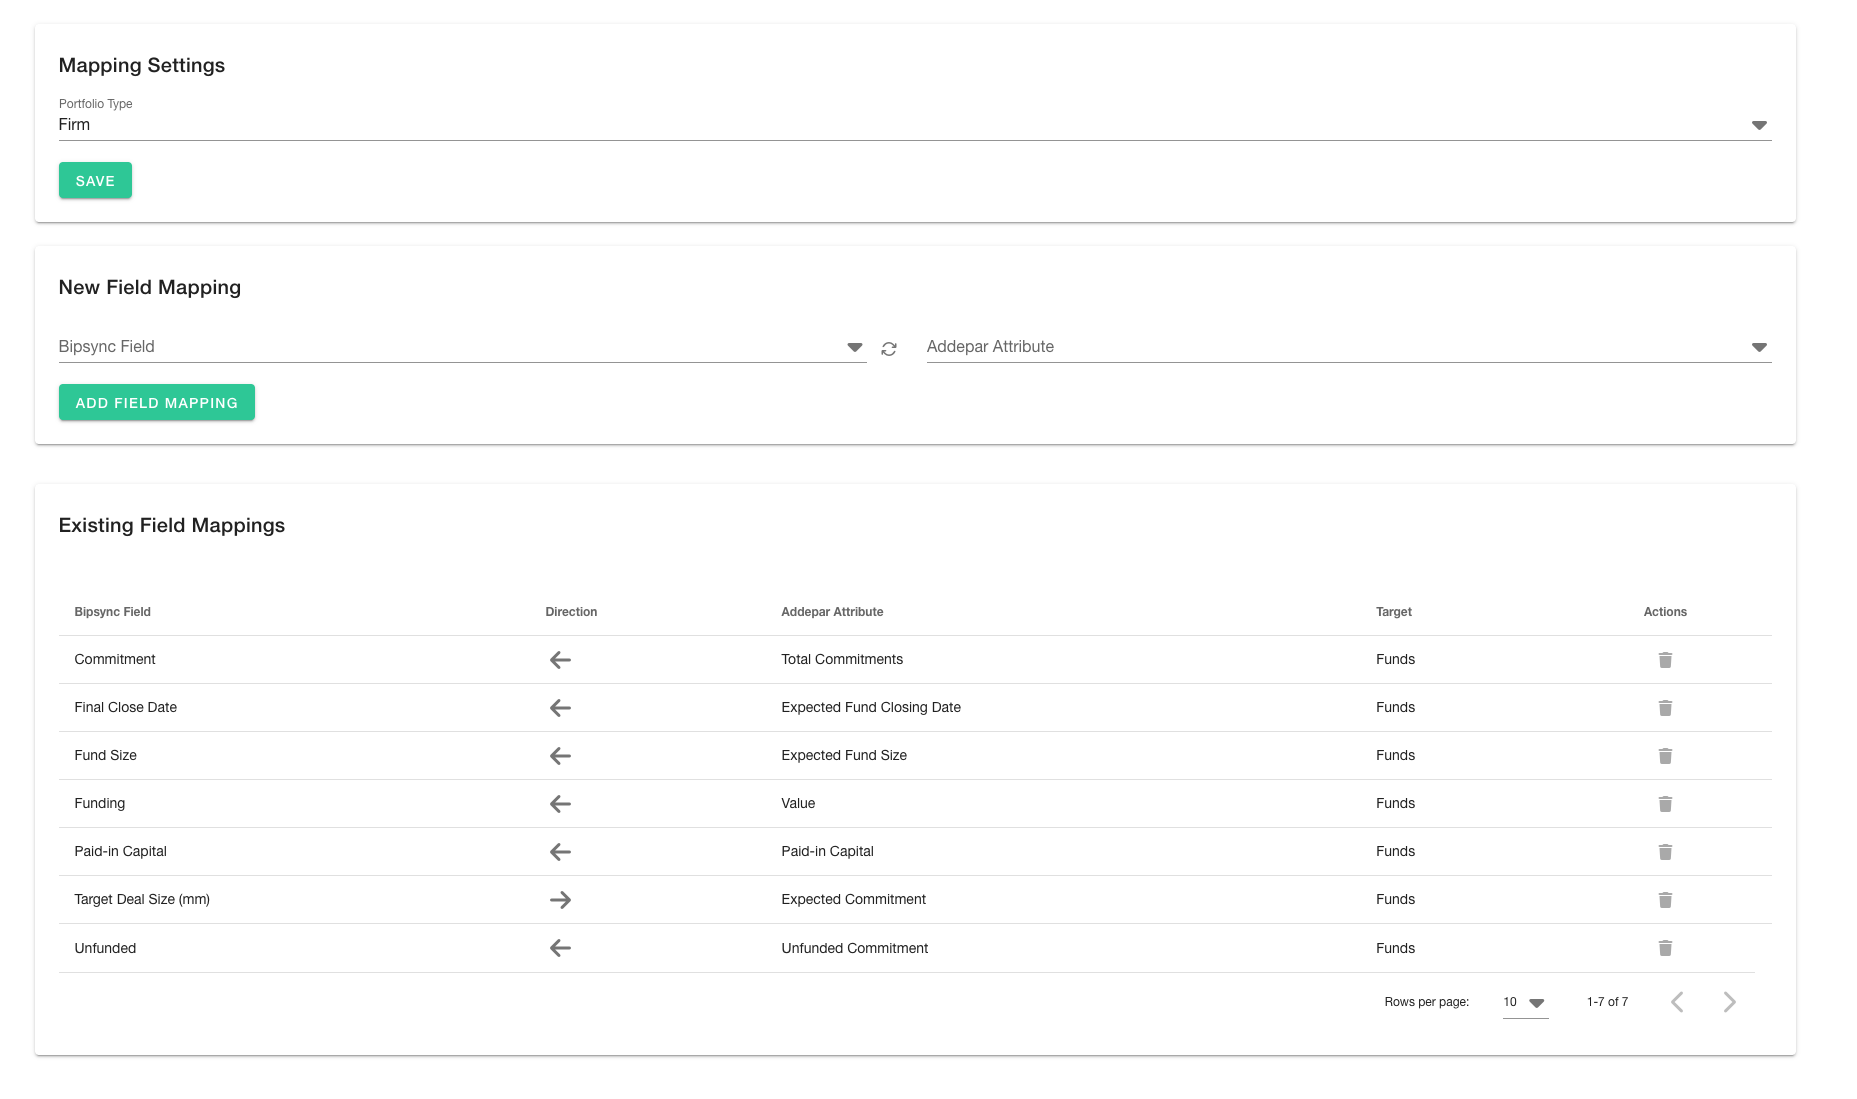
Choose the Portfolio Type and click Save.
-
Select the Bipsync Field on the left hand side, then the Addepar Attribute on the right. The directionality of the data flow is indicated by an arrow.
-
Existing field mappings can be removed by clicking the trash can icon.
Linking Bipsync Entities to Addepar
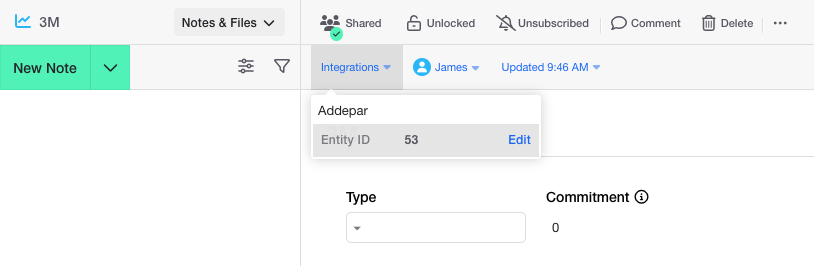
The Addepar integration requires entities in Bipsync to be matched to entities in Addepar in order to correctly synchronise data. This is achieved by storing the Addepar Entity ID as an external ID on the Bipsync entity.
To link Addepar entities in the Bipsync Web App:
-
Navigate to the entity that you'd like to link to Addepar.
-
Click on the Integrations menu then click Edit under the Addepar entry.
-
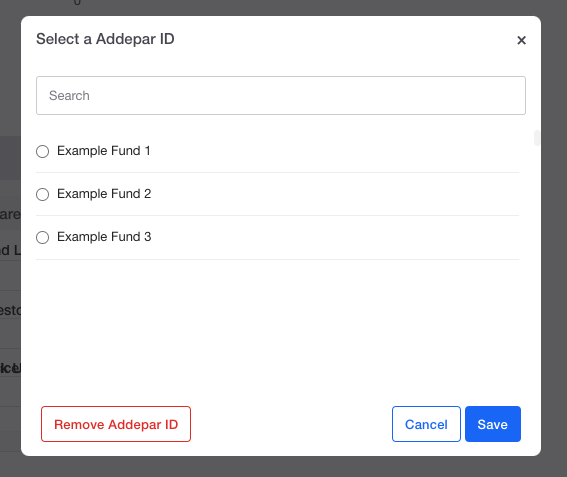
Search for the matching Addepar entry, select it, then click Save. Alternatively to unlink the Bipsync entity from an Addepar entity, choose Remove Addepar ID.
Updated 11 months ago